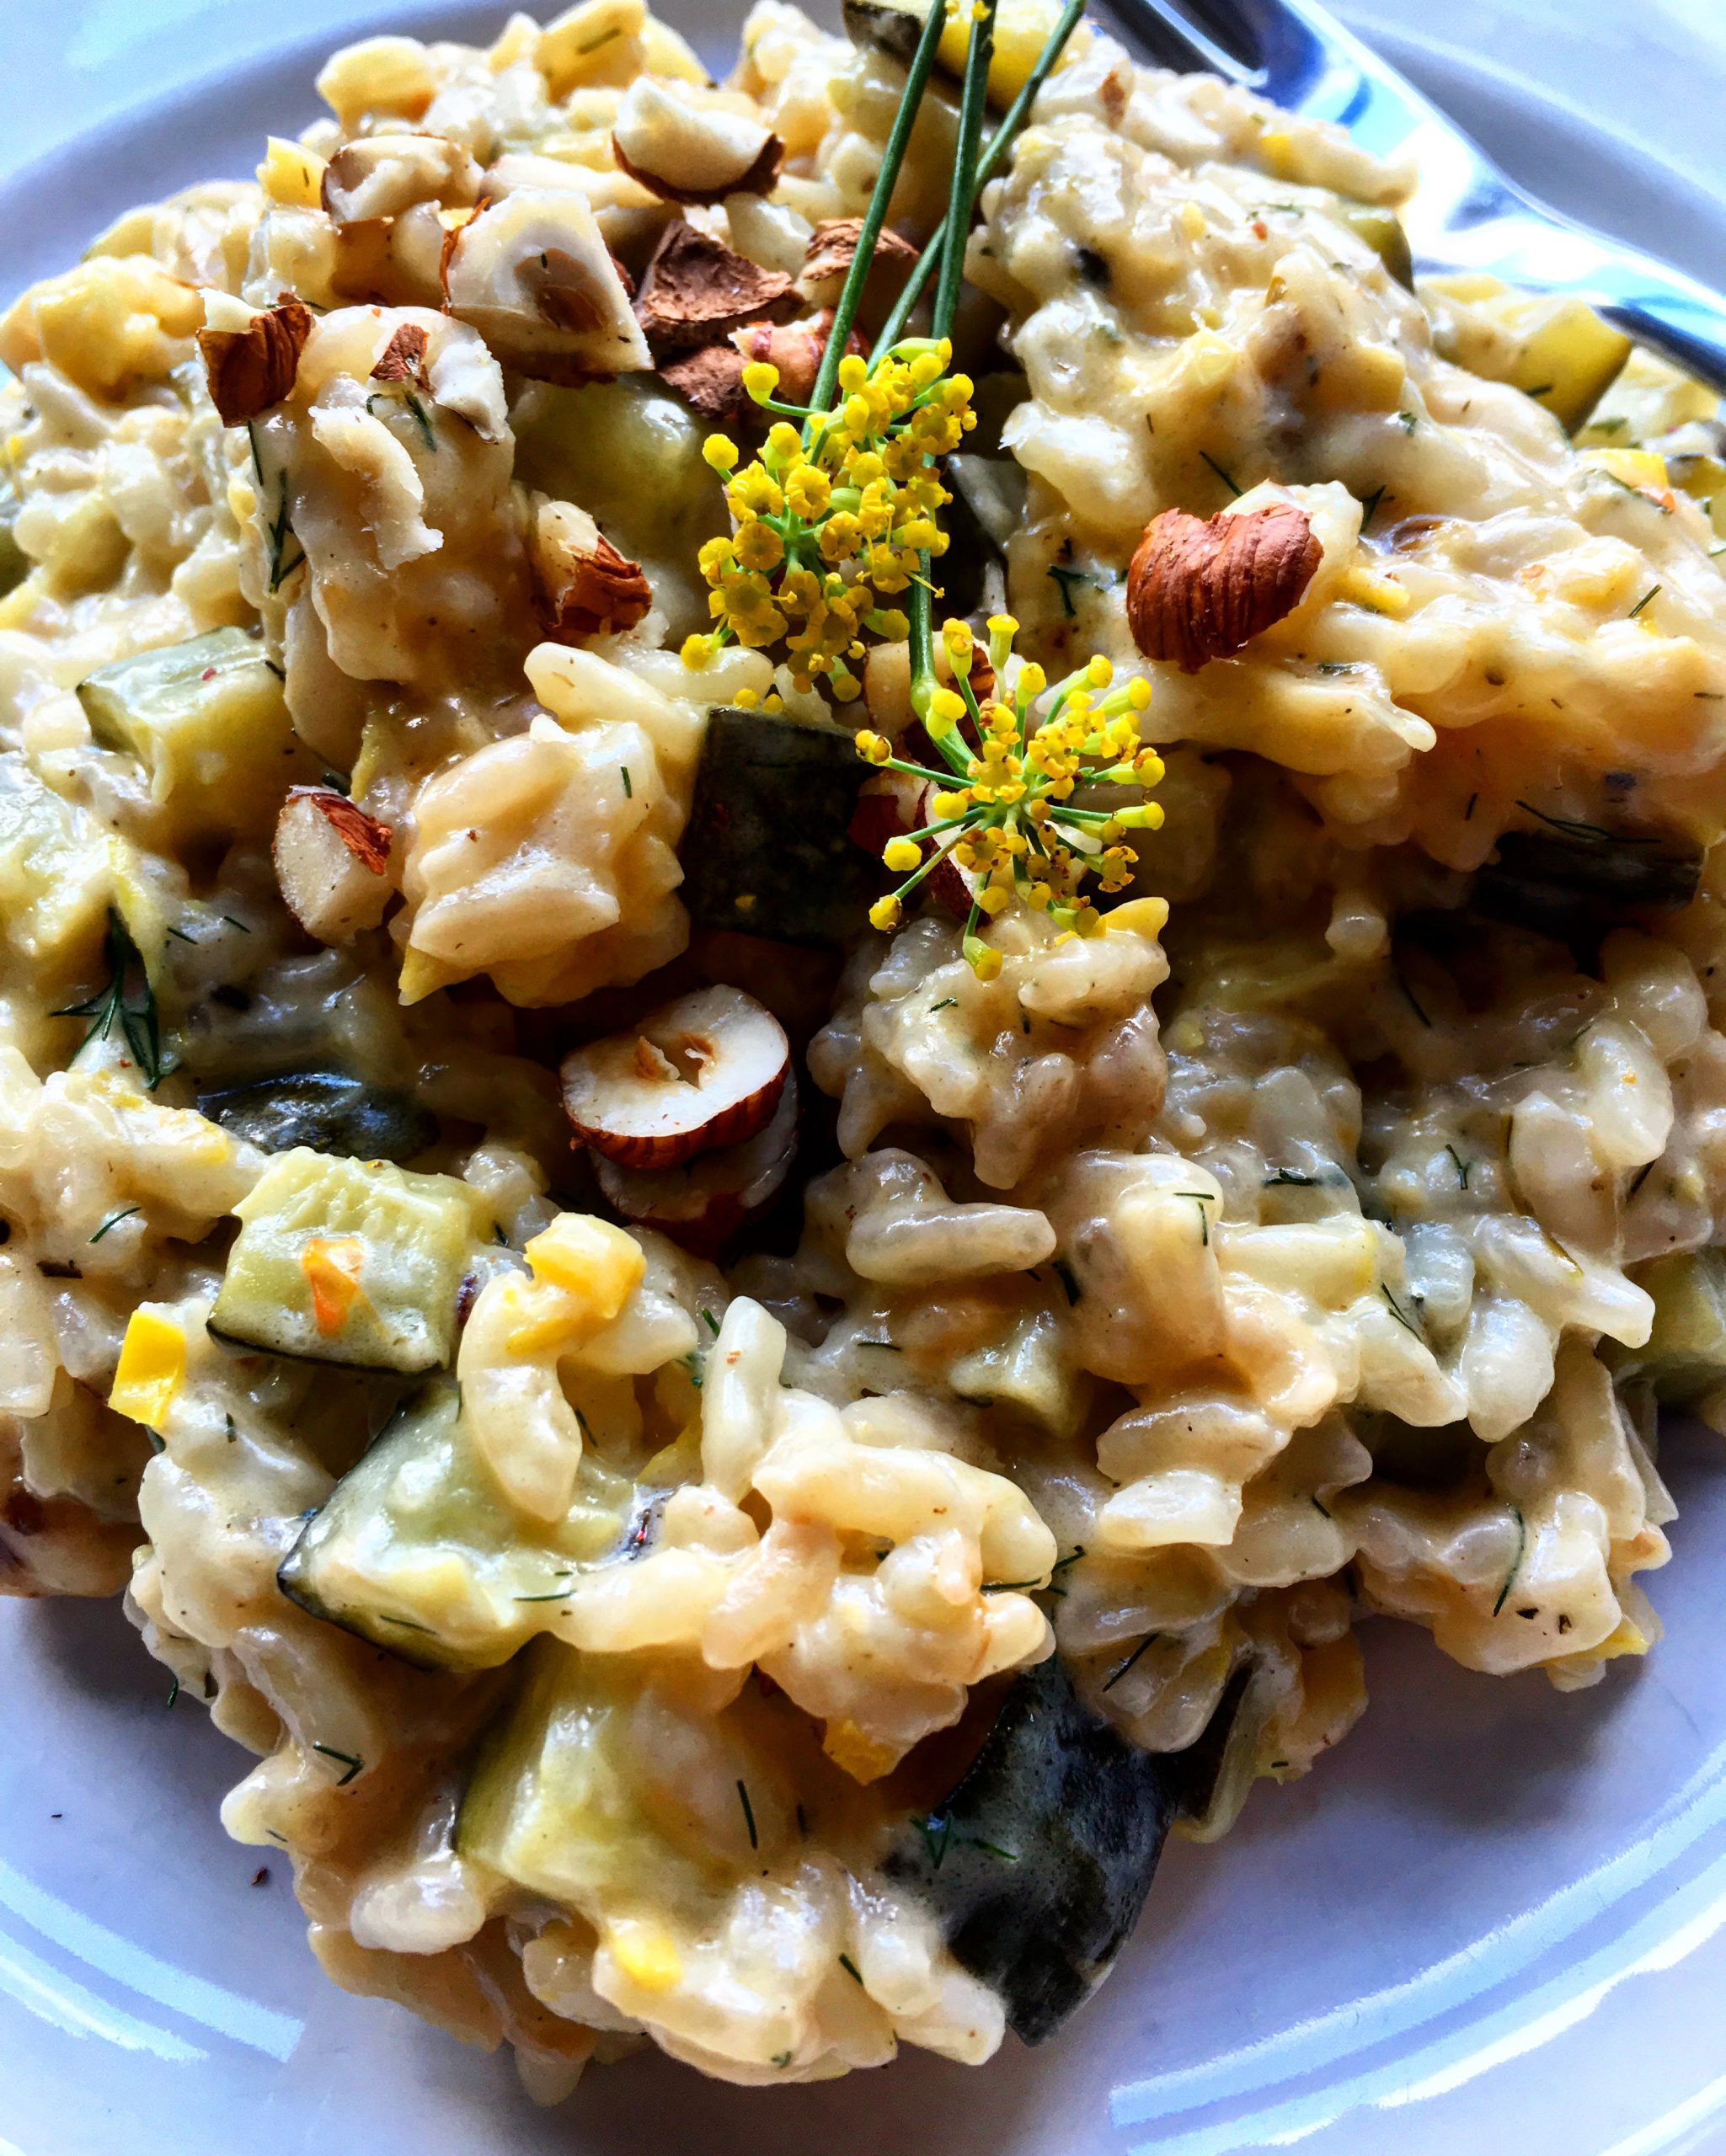
Lemon, Courgette and Hazelnut Risotto

Put up your hand if you're running out of ideas of what to do with your glut of courgettes?  It's late July, courgettes are everywhere.  They have been everywhere since about early June, and there's still August to get through.  You are finding it hard to even give the little buggers away for free.  You've grated, spiralised, baked, stuffed, fried and stacked them, but they just won't go away.

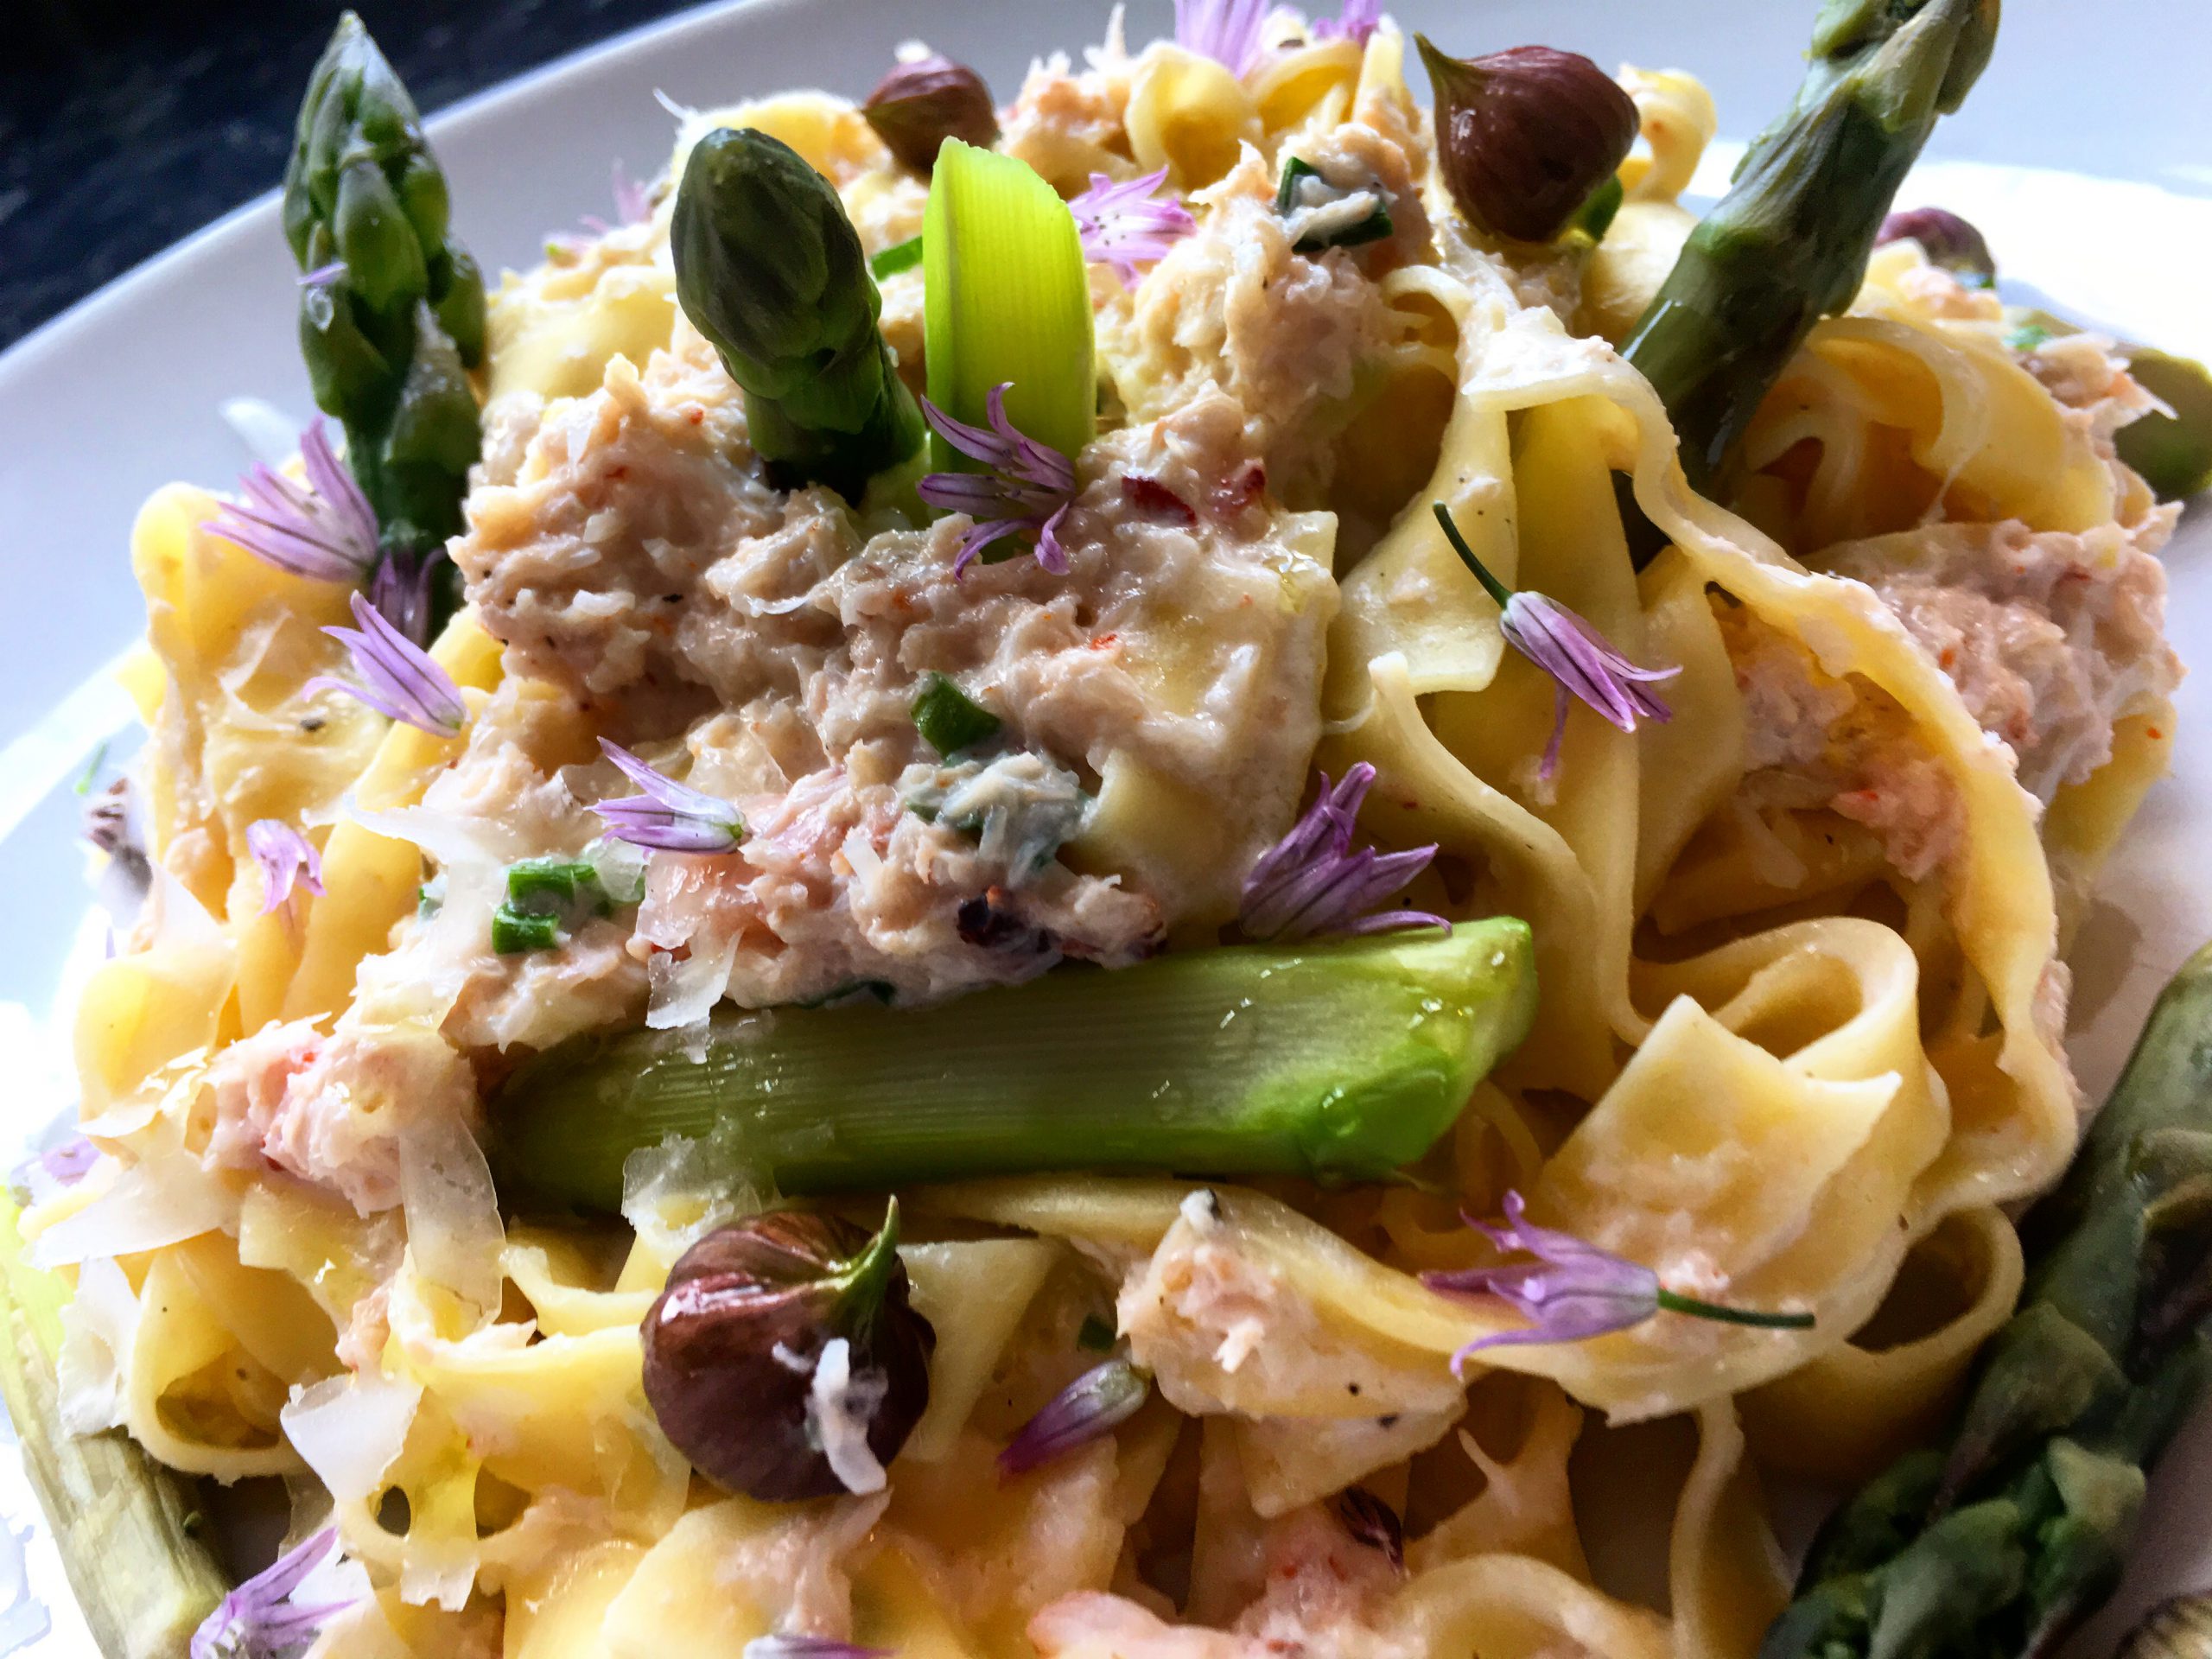
Late spring into early summer you'll want to revel in two things.  Firstly, our gloriously short asparagus season.  Secondly, brown crab season.  Frankly, these two ingredients when used at their peak are seductive bedfellows.  Earthy versus sweet, the two taste profiles couldn't be more different and yet opposites attract.

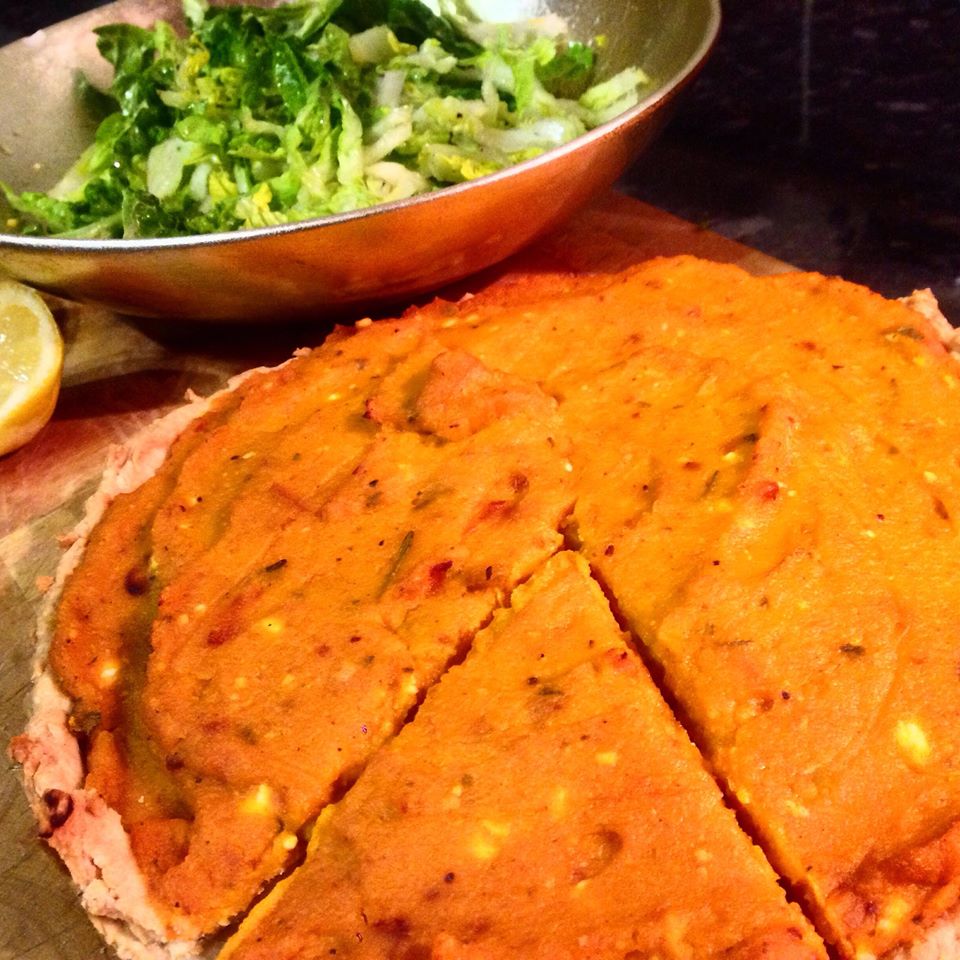
It was a truth that I had previously never doubted that I would never be any good at making pastry.  "It's just too difficult" I thought, "It'll just always go wrong and then it'll be a waste".  But then I thought - how hard could it be to make some harmless pastry.  Turns out that all I really needed to do was roll up my sleeves and go for it.

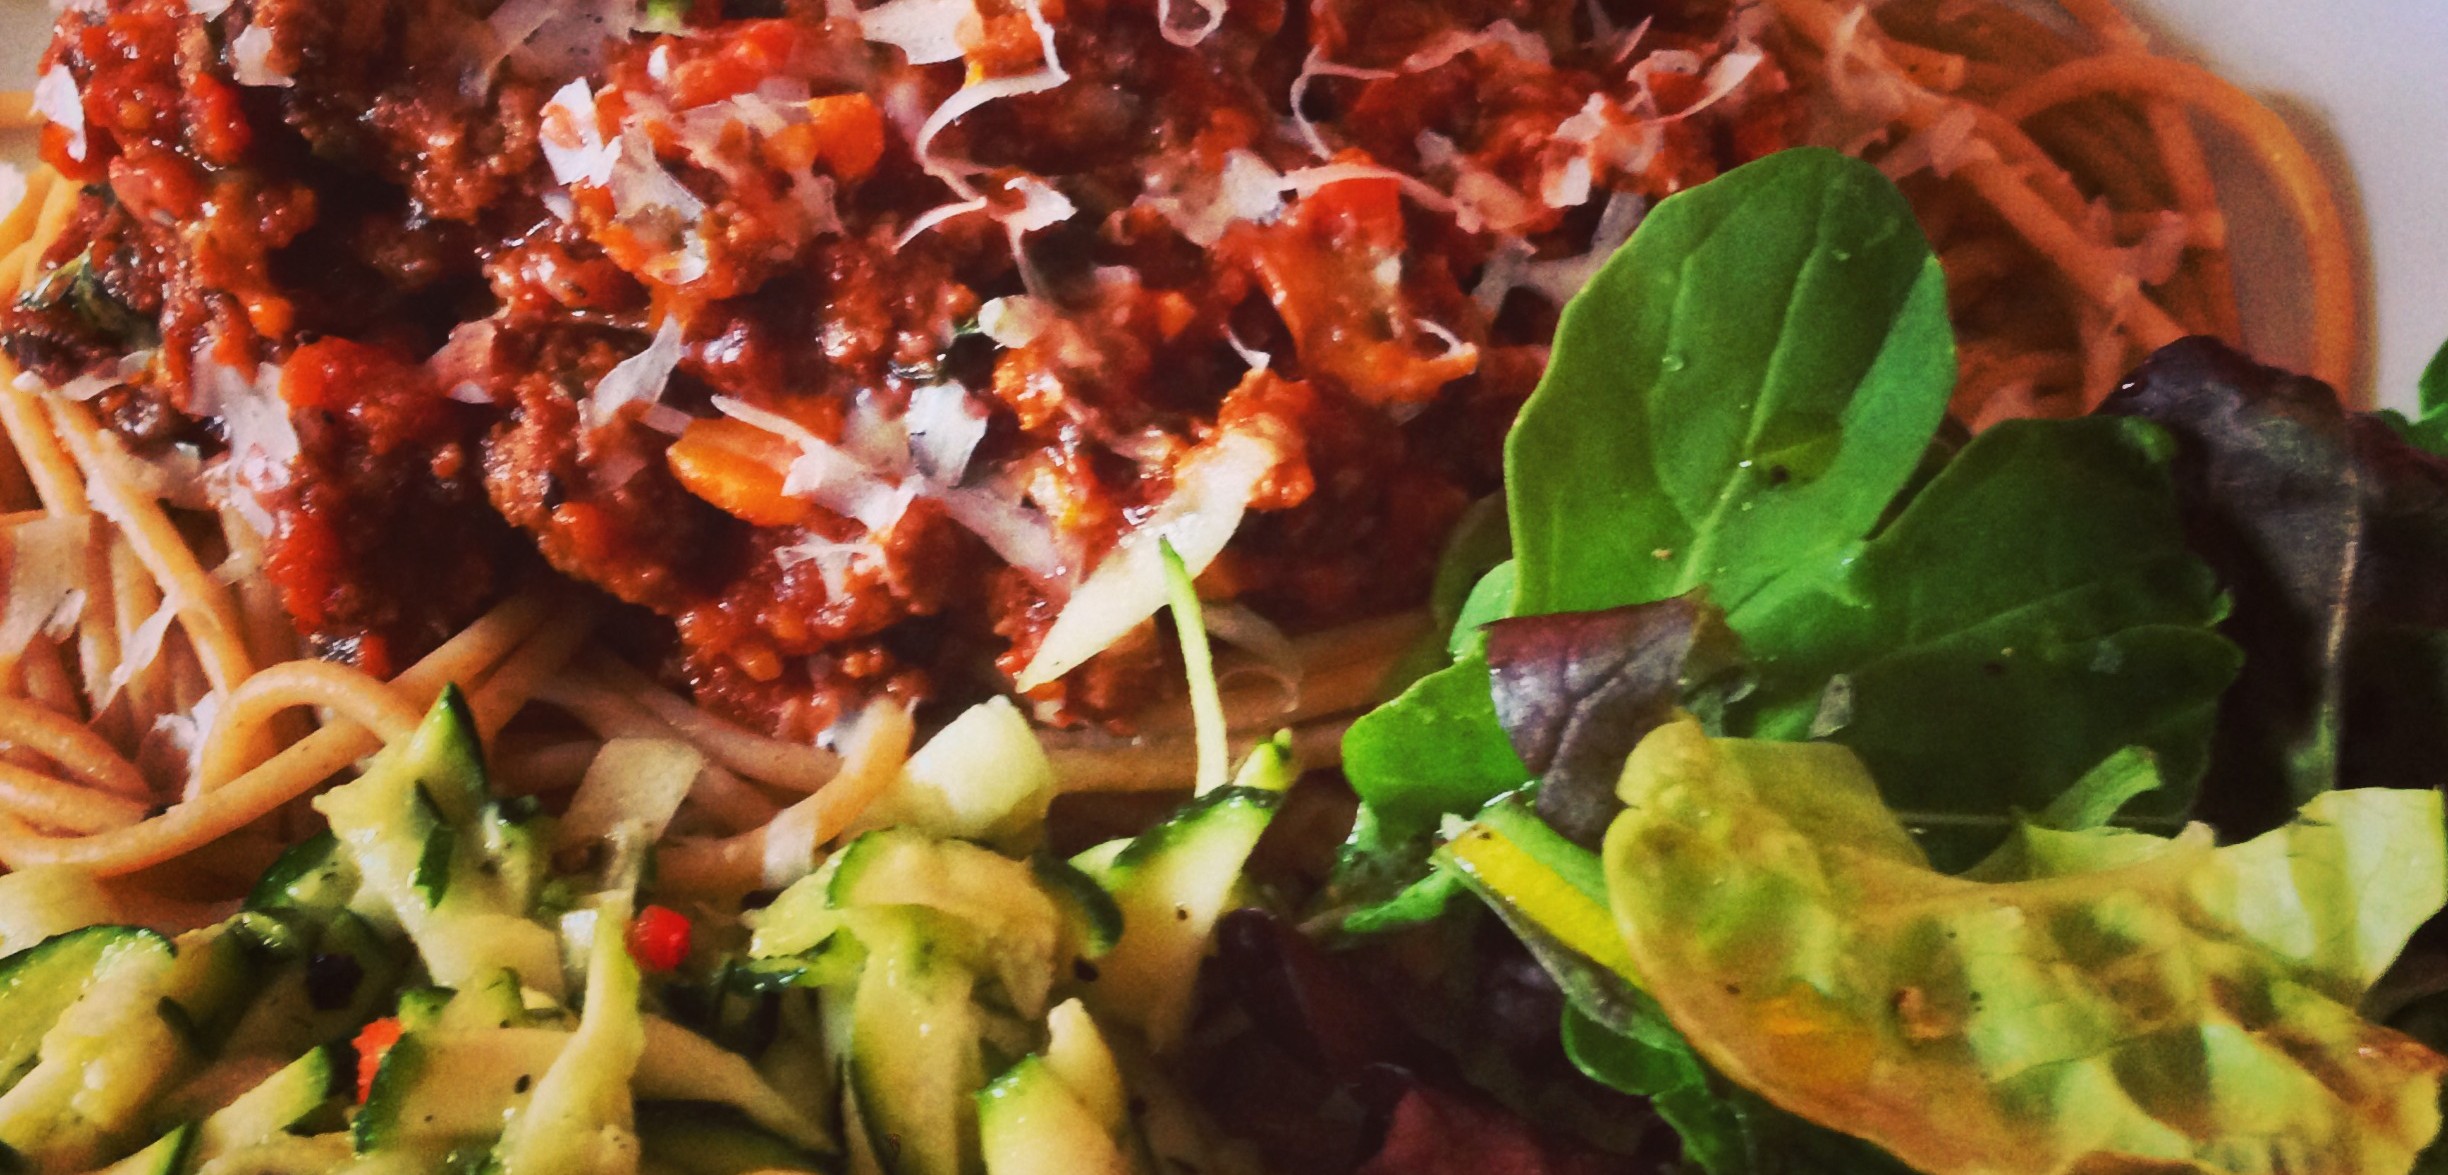
Everyone has their own way of making a spaghetti bolognese don't they? Whether it's the Italian traditional method of making a slow cooked ragu from bones and marrow, a recipe passed down through the generations or out of a ready mix jar we all have our ways of making what has become almost a staple on the weekly menu's in many Irish and UK households.

Mondays hey….who'd have 'em? Well it turns out no matter what, there's no avoiding them so we may as well just tackle them head on!

Lemon, Courgette and Hazelnut Risotto

Put up your hand if you’re running out of ideas of what to do with your glut of courgettes?  It’s late July, courgettes are everywhere.  They have been everywhere since about early June, and there’s still August to get through.  You are finding it hard to even give the little buggers away for free.  You’ve grated, spiralised, baked, stuffed, fried and stacked them, but they just won’t go away.

Well, help is at hand!  This recipe was borne out of a need to use up a few too many courgettes that I received in my fortnightly organic veg box.  My fennel plant in the garden was (is) slowly turning into a gigantic triffid and I still had some fecking hazelnuts in the nut bowl from Christmas (note to self, buy less in-shell nuts next Christmas – doesn’t matter how much of a bargain they are!)  From this ramshackle bunch of ingredients was this risotto recipe born.  Even my husband who really isn’t a fan of courgettes wolfed this down scraping the very last remnants from his plate and asking if there was any more left.  Now, I call that a successful dish…

You may note that there is an absence of white wine and cheese in this dish.  Instead of white wine, I have chosen to use the lemon juice for the acid, and instead of parmesan and cream, I have opted for the lighter option of crème fraiche.  If you couldn’t face your risotto without some parmesan atop, then by all means knock yourself out…I’m not precious about these things!

Ingredients (serves 2):

  • 1/2 cup of risotto rice
  • 3 banana shallots
  • Zest and juice of 1 large lemon
  • 1 yellow chili
  • 1 ltr of vegetable stock
  • 2 courgettes (green/yellow), cut into 2cm pieces
  • Fresh fennel/dill herb
  • 1 tbsp of crème fraiche
  • Handful of hazelnuts, shelled and roughly chopped
  • Sea salt and freshly ground black pepper
  • Fennel pollen to garnish

Method:

  • Finely chopped the shallots (in a mini-chopper is best).
  • Add some olive oil to a frying pan over a medium heat.  Add the shallots and gently fry until transparent.  Do this slowly so as not to burn.  Add the finely chopped chili.
  • Add the rice to the pan and stir until well coated. Add the courgettes.
  • Grate the zest of the lemon into the pan.  After zesting, firmly roll the lemon then cut in half and extract all the juice directly into the pan.  Stir everything together until the rice has absorbed the lemon juice.
  • Begin adding the stock slowly, about a ladle full at a time, stirring constantly until all the liquid has been soaked up by the rice before adding more.  The more liquid you add, the longer it will take for the rice to soak up the liquid but don’t rush this part of the process.
  • Continue adding the liquid until about 750ml of stock is gone.
  • At this point, your risotto will be pretty much done.  Add the finely chopped fennel herb, stir and check for seasoning.  Add / adjust as you need to.
  • Check your rice.  The risotto should not be too stodgy or too loose, and the rice should be cooked but retaining a little bite.  If you would like your rice cooked a little softer, or your risotto a little looser, add the remaining stock so that the whole litre of it is used up.
  • When happy with the risotto’s consistency, stir through the crème fraiche and scatter most of the hazelnuts through.  A final stir and you are ready to serve.
  • Garnish with the remaining hazelnuts, fennel pollen stems and a final twist of black pepper and you are ready to serve!

And….Enjoy!

Crab & Asparagus Tagliatelli

Late spring into early summer you’ll want to revel in two things.  Firstly, our gloriously short asparagus season.  Secondly, brown crab season.  Frankly, these two ingredients when used at their peak are seductive bedfellows.  Earthy versus sweet, the two taste profiles couldn’t be more different and yet opposites attract.

But the Kitchener cannot be fooled into thinking that they will do just fine by themselves.  No, a little molly-coddling must be undertaken before this pairing are ready to get up close and personal with each other!  A squeeze of lemon here, a hint of garlicky chive there helps to bring everything together!

Continue reading “Crab & Asparagus Tagliatelli”

Squash, Feta and Rosemary Pastry Tart

It was a truth that I had previously never doubted that I would never be any good at making pastry.  “It’s just too difficult” I thought, “It’ll just always go wrong and then it’ll be a waste”.  But then I thought – how hard could it be to make some harmless pastry.  Turns out that all I really needed to do was roll up my sleeves and go for it.

Turns out that I’m actually pretty darn good at making my own pastry.  Not as an every day thing you understand – I’m not that committed, but certainly in a batch and ahead of schedule and freezing down portions for later use is right up my street and the kind of vision of effortless mid-week cookery that I can handle without working myself up into a frenzy!

Continue reading “Squash, Feta and Rosemary Pastry Tart”

One Hour Spaghetti Bolognese with Courgette, Lemon and Chilli Salad

Everyone has their own way of making a spaghetti bolognese don’t they? Whether it’s the Italian traditional method of making a slow cooked ragu from bones and marrow, a recipe passed down through the generations or out of a ready mix jar we all have our ways of making what has become almost a staple on the weekly menu’s in many Irish and UK households.


On a weekday evening, I dedicate up to an hour cooking the dinner. I figure that for most dishes, even for ones that are a traditional slow cook like a spaghetti bolognese, an hour gives you enough time to develop a decent bit of flavour without being a slave to the stove when there are so many other things on an evening to attend to besides dinner. Here below is my take. I am not afraid to make use of some shortcuts, but where it matters the bulk of the meal is always made from scratch; fresh and full of flavour!

The below recipe would feed two generously or four moderately when accompanied with the Courgette Salad and sides. Enjoy!

Before we start, a quick note on tomato sauces: Every tomato sauce needs a good base. I find that a really good base can be wizzed up in a couple of minutes using either sun-blushed or sun-dried tomatos. Sun-dried tomatoes will give a very deep, smoky, slightly tannic flavour whereas using sun-blushed provides a lighter and sweeter flavour which allows the other herby notes to carry through much more. Try to use deli-fresh product rather than jarred, but if that’s all that’s available then trust me, it’s still miles better than the jarred bolognese mixes. The longer you cook the ragu (bolognese) the more flavour you will get – just mind it from time to time, ensuring it doesn’t stick to the pan.

For the Sauce:
Put all of the following ingredients into a mini blender (or a pestle and morter if you don’t have a mini-blender – quantity is not enough to use a blender or a large processor for this) and wizz up for a few seconds until blended together.

About 50g of either sun-blushed or sun-dried tomatoes (you can add more for a stronger taste of course, just be careful on getting the balance right especially with the sun dried toms)
2 cloves of garlic
A small handful each of basil and oregano
A drizzle of extra virgin olive oil
A good pinch of Maldon sea salt flakes and freshly ground black pepper
A pinch of sugar ONLY if using sun-dried tomato’s to get a sweeter balance going on.
Next, heat a teaspoon of olive oil in a non-stick pan (preferably one you can cover with a lid later) and add in 250g of best quallity lean beef steak mince. I suggest making friends with your local butcher rather than using the watery pre-packed stuff from the supermarket. Brown off the meat for a few minutes. Place a couple of sheets of kitchen toweling on a plate and spoon out the browned mince onto it, leaving in the pan as many of the meat juices as possible – don’t throw this away!

Next, lower the heat on the hob, add in your wizzed up tomato paste to the pan with the meat juices and cook for a couple of minutes, adding a little water (rather than more oil) to the pan if it sticks. Add in one tin of plain chopped tomatos (400g), a handful of mixed chopped basil and oregano, a teaspoon of good quality balsamic vinegar and 1 jellied beef stock cube (nice cheat!). Let that all mix in together until the stock has melted in. Add in the beef and three finely chopped mushrooms. The mushrooms help to add non-meaty but yet meaty bulk to the dish which is healthier than just adding more meat! Give everything a good stir, turn the heat right down to a bare simmer, cover and leave to cook through and for the flavours to develop. Move on to preparing your sides.

Courgette, Chilli and Lemon Salad:
Set up your food processor with the grater blade. If you don’t have this, you can use a normal grater, just takes a little longer.

Clean 2 courgettes, top and tail them and then cut them lengthways so you have 4 halves.
Put the courgettes through the grater, transfer into a bowl for dressing and presentation.
Add the zest and juice of 1 lemon.
Slice 1 red chilli diagonally (the heat will depend on the chilli you use – I have used a jalapeno type chilli for this dish so that there is background heat but it doesn’t overpower). Saving a few slices for garnish, take the rest and chop finely. Add to the courgette and lemon mix.
Season with Maldon sea salt and plenty of freshly ground black pepper.
Add in 1/2 tablespoon of extra virgin olive oil.
Toss the salad. Garnish with the remaining chilli slices.
Green Salad:
In a bowl add in a very small dash of extra virgin olive oil, lemon juice, sea salt and pepper.
Add a couple of good handfuls of organic peppery leaves (giving a different texture and flavour).
Set aside and when everything else is ready, toss the leaves in the dressing sitting underneath. Doing it this way means that the leaves will not wilt under the acid of the lemon.
Return to your bolognese give it a stir, replace the lid and further reduce the heat if necessary. It shouldn’t be drying out as yet so will still look a little wet – this is fine. If it is drying out you have cooked it on too high a heat too fast! Take it back!

Garlic Bread:
Making your own garlic bread is so easy and by substituting olive oil instead of butter really cuts down the calories:

In a pestle and morter, add 2 cloves of garlic, a pinch of sea salt flakes, freshly ground black pepper, and a small handful each of basil and flat leaf parsley.
Bash together in the pestle and morter and when it has been broken down sufficiently (should take but a few seconds), add in a small glug of extra virgin olive oil and mix well together.
Take a part baked ciabatta – either 1 small one per person or one large one. Make diagonal slices across the bread, but only half way through it.
Using either your fingers or for those adverse to this kind of texture, use a basting brush to put as much of the garlic and herb mixture in between the slices and all over the top of the bread.
Take a piece of parchment paper and rinse it under a tap and then squeeze it out completely. Lay it on a baking tray, wrap the ciabattas within and place in the oven at 200 deg C for the length of time advised on the pack.
Half way through cooking, open up the parchment paper, this will ensure the bread crisps up on top.
Slice the bread all the way through and present on a nice plate / board etc.
Back to the bolognese, uncover stir and add in 1/2 tablespoon of fresh chopped basil. Keep the cover off at this point to help reduce the sauce, but keep an eye on it so it doesn’t stick.

In a pan of boiling water, place enough spaghetti for the number of people dining, but remember there are plenty of sides so you can reduce the amount of carbs making it a little less calorific for you. The type of spaghetti you use is a matter of personal choice: fresh or dry, white, brown, gluten free etc you can tailor it to your preference. I personally only use organic wholewheat spaghetti – I like the nutty taste, the slightly rougher texture and the fact that it has a lower GI index than white pasta. Cook according to packet instructions. When ready, drain fully, return to the empty pan and add a small amount of extra virgin olive oil to keep it nice and lubricated. Add in the bolognese sauce and mix through, decant onto a nice warm serving platter and take to the table.

Dress the green salad and take to the table along with the courgette salad and the garlic bread.

Serve with a nice bottle of Valpolicella and enjoy!

Super Quick & Tasty Chicken Goujons

Mondays hey….who’d have ’em? Well it turns out no matter what, there’s no avoiding them so we may as well just tackle them head on!


I am always looking for something tasty and quick to eat on a Monday, mainly because my tastebuds are still hungover from the weekend but I generally am lacking motivation to cook anything too taxing. So on Monday’s I raid my memory for a quick and tasty treat. On this particular Monday I went for good old Chicken Goujons! But not the cheap and nasty ones ready made from the chiller cabinet, but rather homemade from scratch with only a fraction of the calories of the shop bought ones by substituting oil thirsty breadcrumbs with a light dusting of semolina grain instead. Aside from the benefits of less fat and of course knowing exactly what you are putting on your dinner plate, there is also the added benefit of being able to change the flavours in the semolina mix to whatever you fancy or to go with whichever accompaniements you choose. The recipe below is for the classic combo of chicken with lemon and tarragon.

Please note: I am most definitely NOT talking about the wet semolina you get out of tin, but rather the grain form which can be found in the baking ailse!

Ingredients (serves 2 people):
Two skinless chicken breasts
A handful of semolina powder/grain
Freshly ground black pepper; sea salt flakes (to taste)
1 tsp of dried tarragon
Zest of one lemon
1 egg whisked (optional)
1 tblsp of olive oil.
Method:
Slice the back piece off of the chicken fillet, and then slice the rest of the fillet in three strips lengthways, and then slice each piece diagonally across. This should result is apx 7 goujon pieces per fillet.
Mix the semolina, tarragon, lemon zest, salt and pepper together in a bowl. Whisk the egg in another bowl on its own (optional, you can do this without the egg – the coating will be thinner but will still taste great – personally I switch between using the egg and not!)
Heat the olive oil in a frying pan over a medium high heat until very hot. Don’t put it on max high heat otherwise the chicken pieces will burn when you put them in the pan before cooking in the middle.
When the oil is hot enough, take the chicken and (if you are using the egg) dip the chicken in the egg mix and then coat in the semolina mix.
Place each piece in the pan – do this quickly in succession so that the chicken will all cook and be ready at the same time.
Do not move the chicken in the pan for the first 2 – 3 minutes or until when turning the semolina turns a nice golden colour. Turn and cook for the same amount of time on the other side.
After 6-7 minutes in total, give all chicken pieces a good shake in the pan to take up as much colour as possible.
Turn out onto some kitchen towel to take off any excess oil – although this will be minimal.
Serve up on a warmed plate with whichever accompaniements you wish, and Enjoy!

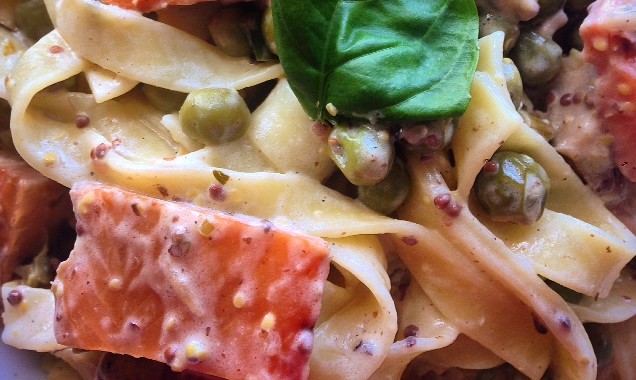
Smoked Trout Tagliatelli with Creamy Mustard Sauce

Some days only pasta will do and some days it’s nice to get a little creative about what to serve up with your lashings of comfort inducing pasta! This recipe balances the comfort of pasta and a creamy sauce with the summery flavours of Burren Smoked Trout (buy it here), garden peas and spring onions.

Continue reading “Smoked Trout Tagliatelli with Creamy Mustard Sauce”

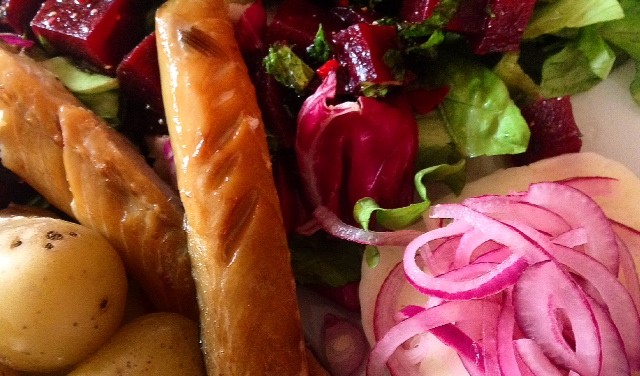
Warm Mackerel with Beetroot, Mint and Chilli Salad, Halloumi and Pickled Red Onion

This dish makes for a lovely light dinner on a warm sunny evening! Tasty, zingy, smokey and piquante it just about hits all the tastebuds smack in the mouth!

Continue reading “Warm Mackerel with Beetroot, Mint and Chilli Salad, Halloumi and Pickled Red Onion”

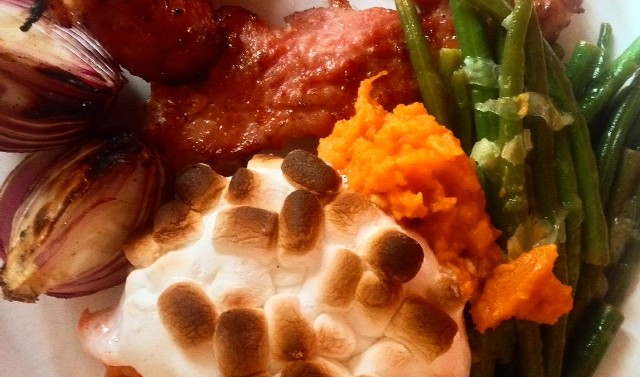
Maple Drenched Aromatic Pork with Celebration Sweet Potato and Bean Casserole

Part of this meal is highly controversial. No, not the pork; and no, it’s not the Bean Casserole. It’s the Celebration Sweet Potato!

Continue reading “Maple Drenched Aromatic Pork with Celebration Sweet Potato and Bean Casserole”

web design and development by the designer of things